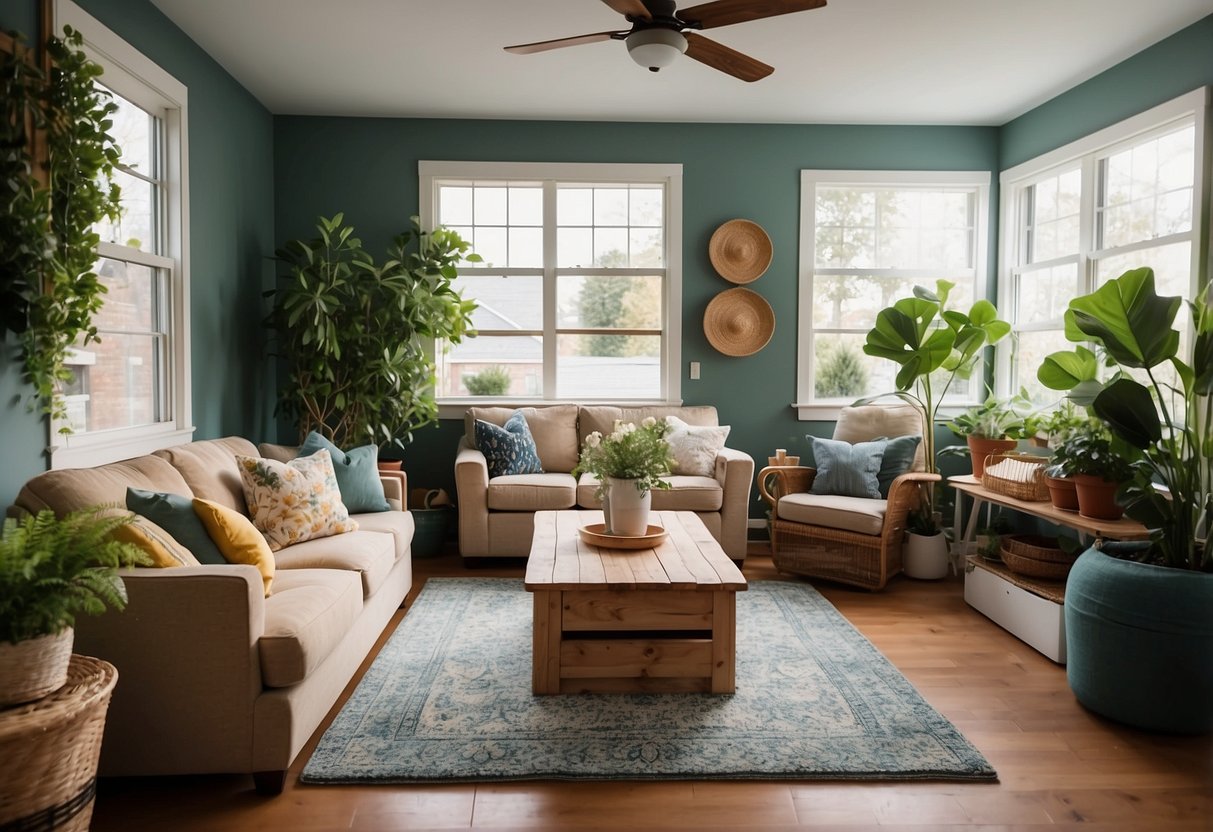
Renovating a home doesn’t have to be an expensive or time-consuming endeavor. With the right approach, it’s entirely possible to tackle meaningful home improvement projects within a weekend without breaking the bank. This article presents ten budget-friendly home renovation ideas that you can complete in just a few days, offering both beauty and functionality to your living spaces.
Whether you’re looking to enhance your home’s curb appeal, update a dated kitchen, or simply add some personal touches to your interior, these projects are perfect for homeowners of all skill levels. Each project is designed to be cost-effective yet impactful, ensuring that you can enjoy noticeable improvements without significant financial strain.
1. Paint an Accent Wall
Adding an accent wall is one of the simplest and most effective ways to transform a room. With some paint and a little creativity, anyone can create a stunning focal point.
Begin by selecting a wall that stands out, such as behind a bed or in a living room. Choose a bold color that contrasts well with the rest of the room’s palette.
For a dynamic look, try adding geometric shapes or stenciled patterns. Acrylic paint works well for this and is available in many colors.
Creating a sponge-painted accent wall can also add texture. Simply use a kitchen sponge to dab paint onto the wall, creating a unique and textured effect.
For an even easier option, paint simple stripes or borders. Use painter’s tape to keep lines clean and precise.
Don’t forget to prepare the wall by cleaning it and applying a primer if needed. This ensures the paint adheres well and lasts longer.
With these tips, painting an accent wall becomes an achievable DIY weekend project that adds depth and personality to any room.
2. Install Peel-and-Stick Backsplash
Updating your kitchen doesn’t have to be expensive or time-consuming. Installing a peel-and-stick backsplash is a quick and budget-friendly project that can be completed in a weekend.
Start by cleaning and drying the area where the backsplash will be installed to ensure proper adhesion. Remove any outlet covers and cut the jagged edges of the first piece of tile with scissors for a clean start.
Peel off the tile backing and press the tile onto the wall, starting from one corner. Align the tiles carefully to maintain a straight line and press firmly to secure the adhesive.
Continue placing the tiles, making sure to push the seams together at an angle before laying the tile flat to ensure tight seams. This will help achieve a professional-looking finish.
For areas around outlets or edges, measure and cut the tiles with scissors or a utility knife for a precise fit. Reattach any outlet covers once the installation is complete.
This simple project can be done with minimal tools, making it ideal for any DIY enthusiast looking to refresh their kitchen on a budget.