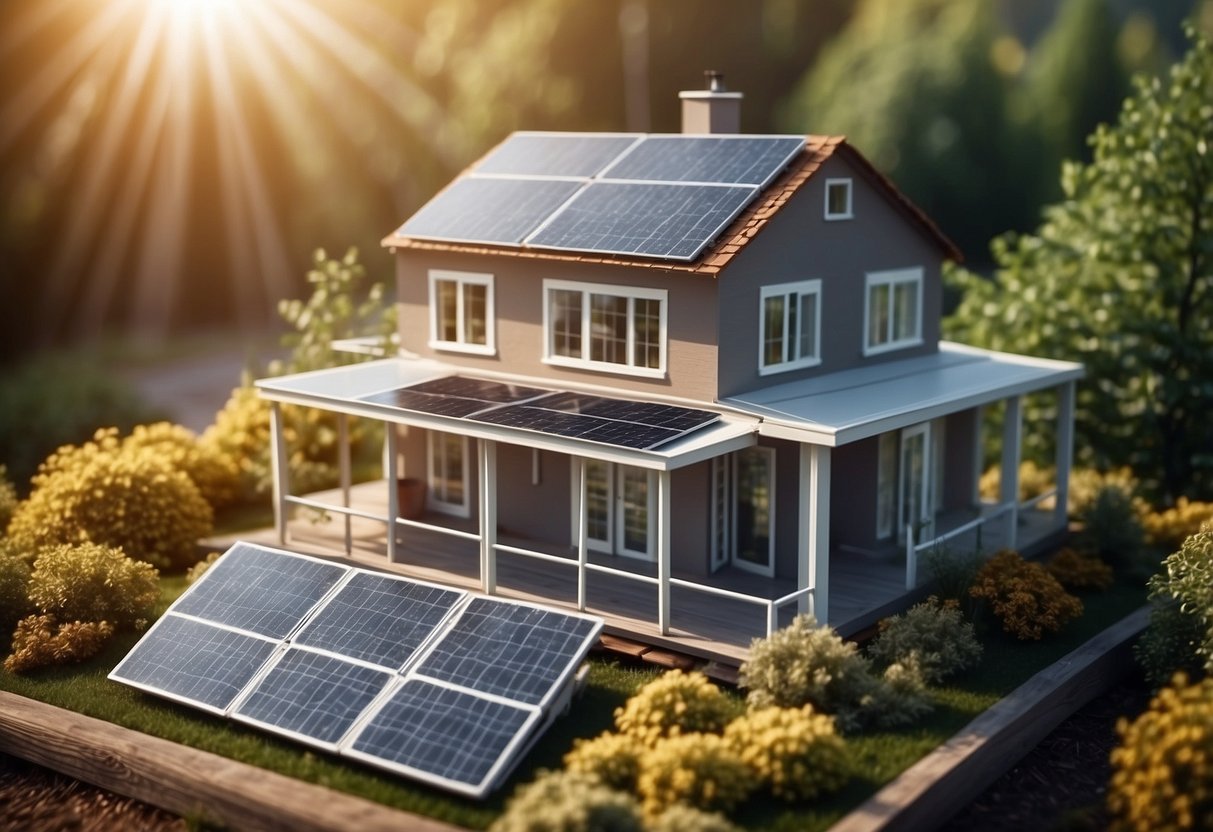
Upgrading your home for energy efficiency can be a rewarding and cost-effective endeavor. Simple DIY projects can significantly lower utility bills and contribute to a more sustainable lifestyle. The key to these upgrades is that they don’t necessarily require professional intervention, making them accessible and practical for the average homeowner.
Enthusiastic homeowners often find that energy-efficient improvements can enhance the comfort and value of their homes. This article will introduce a range of feasible options that can be implemented without extensive experience or specialized tools.
1. Install LED Bulbs
Switching to LED bulbs is an easy way to improve energy efficiency at home. LED bulbs use significantly less electricity compared to traditional incandescent bulbs. This can lead to noticeable savings on energy bills over time.
LED bulbs also have a much longer lifespan. In many cases, an LED bulb can last up to 25 times longer than an incandescent bulb. This reduces the frequency and cost of replacing bulbs.
These bulbs are available in various shapes, sizes, and color temperatures. This makes it easy to find an LED bulb suitable for any room or fixture in the home. They are dimmable and can be used with smart home systems.
LED bulbs generate less heat compared to incandescent bulbs. This can create a cooler indoor environment, especially during warmer months. It can also reduce the load on air conditioning systems, contributing to more energy savings.
LED bulbs do not contain hazardous materials like mercury, found in some other types of bulbs. This makes them a safer choice for the home and for the environment. Furthermore, they can be easily recycled at the end of their lifespan.
Installing LED bulbs is a straightforward task. Most LED bulbs fit into standard light fixtures, making the switch as simple as unscrewing the old bulb and screwing in the new one. No special tools or professional assistance is required.
2. Weatherstrip Doors and Windows
Weatherstripping doors and windows is an effective method to reduce energy loss in a home. This DIY upgrade involves sealing the gaps around doors and windows to prevent drafts and improve insulation. Weatherstripping materials come in various forms, including foam tape, felt, and rubber, each suited for different types of gaps.
The process is relatively simple. Start by cleaning the surfaces where the weatherstripping will be applied to ensure it adheres properly. Measure the length of the areas to be sealed and cut the weatherstripping material to fit. Press the material firmly into place to form a tight seal.
For doors, focus on the top, bottom, and sides. For windows, ensure that the entire perimeter is sealed. Pay special attention to moving parts and corners, as these are common areas for leaks. Replace worn-out weatherstripping periodically to maintain efficiency.
This upgrade can significantly lower heating and cooling costs by improving your home’s thermal envelope. It also contributes to a more comfortable indoor environment by reducing drafts. Weatherstripping is a cost-effective and manageable project, making it an appealing choice for homeowners looking to enhance energy efficiency.