
Refinishing and Painting Techniques
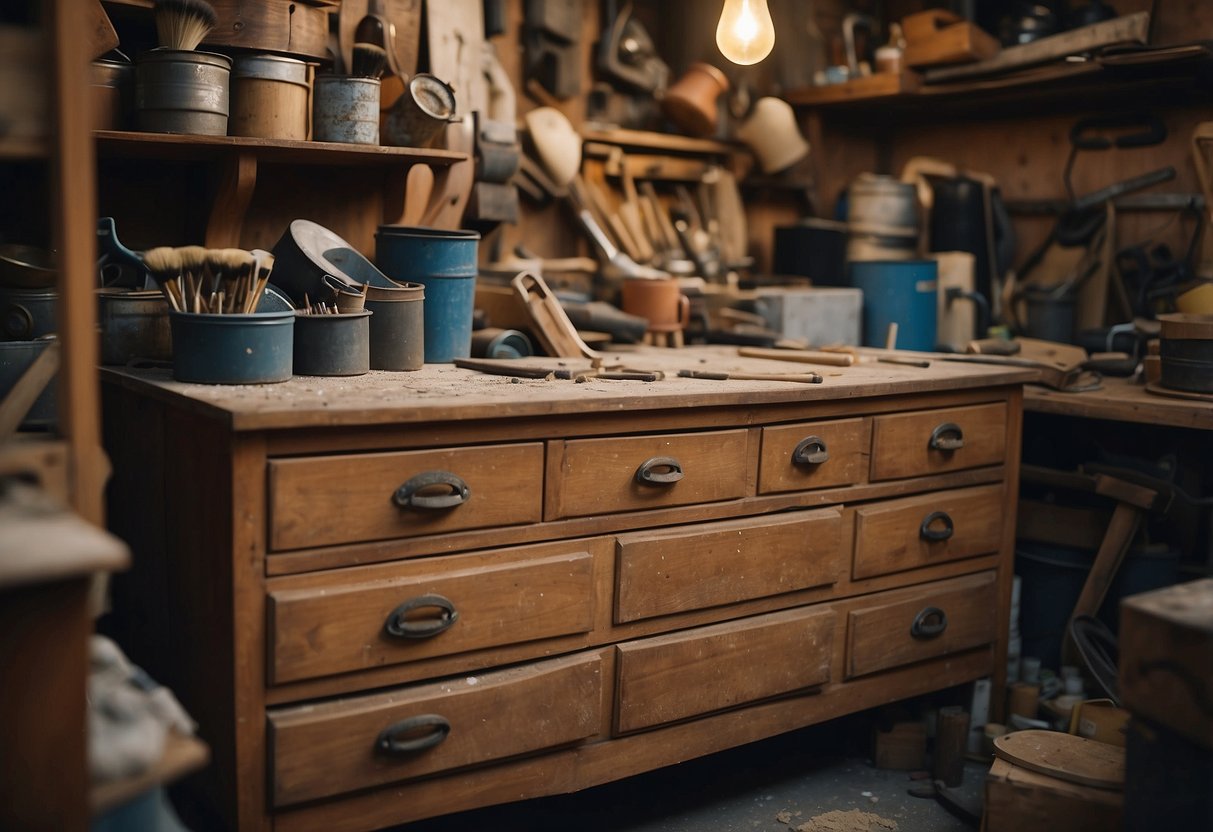
Refinishing old furniture involves selecting the right finish and following a detailed painting process. These steps can transform shabby pieces into stylish, functional items.
Choosing Your Finish
Selecting the appropriate finish is crucial for achieving the desired look. For a vintage appearance, chalk paint is a popular choice. It offers a matte finish and requires minimal surface preparation. Traditional finishes like varnish provide durability and highlight the natural wood grain.
Water-based varnishes dry quickly and emit fewer fumes, making them ideal for indoor projects. Oil-based varnishes, on the other hand, offer a richer finish but require more drying time. Choose based on the project’s end use and aesthetic requirements.
Selecting the right finish hinges on the type of furniture and the expected wear and tear. For high-traffic items like dining tables, a tough finish such as an oil-based varnish may be indispensable.
Step-by-Step Painting Guide
Start by cleaning the furniture thoroughly to remove any dirt or grease. Sand the surface lightly to ensure good paint adhesion. If using chalk paint, priming may not be necessary, but it’s advisable for a smoother finish.
Apply the first coat of paint using a synthetic brush or foam roller. Allow it to dry completely before sanding lightly again. This process ensures a smooth, professional look. After the second coat, let the furniture dry for at least 24 hours.
Finishing involves sealing the paint with a topcoat. For chalk-painted furniture, wax or a clear varnish is recommended. This final step not only protects the paint but also enhances the furniture’s longevity.
Reupholstering Furniture
Reupholstering furniture can breathe new life into old pieces such as chairs and headboards. Transforming these items with new fabric and cushioning requires the right tools and some basic techniques.
Tools and Materials for Reupholstering
When reupholstering, it is essential to have specific tools and materials on hand. Key items include a staple gun, fabric scissors, upholstery needles, and a measuring tape. It’s also crucial to select the right type of fabric. Durable materials such as canvas, twill, or upholstery weight fabric are recommended. Foam padding and batting help provide comfort and shape.
Acquiring these items before starting ensures the process runs smoothly. A staple remover and pliers are handy for stripping the furniture of its old coverings. To achieve a professional finish, consider using a sewing machine to make seams and tucks in the fabric.
Basic Reupholstering Techniques
Reupholstering starts with removing the old fabric from the furniture. This can be done by carefully extracting staples or tacks. Next, the frame and cushioning need to be inspected and repaired if necessary. Once the piece is prepped, new foam and batting are applied before attaching the fabric. The fabric should be cut to size, with extra material allowed for tucking and stapling.
Begin attaching the new fabric at the center of each side, then work outwards. This helps ensure an even, tight finish without wrinkles. Corners can be tricky; make clean tucks and folds to manage excess material. Always pull fabric tight to ensure a neat appearance. Finish by trimming excess fabric and checking for any loose staples or seams.