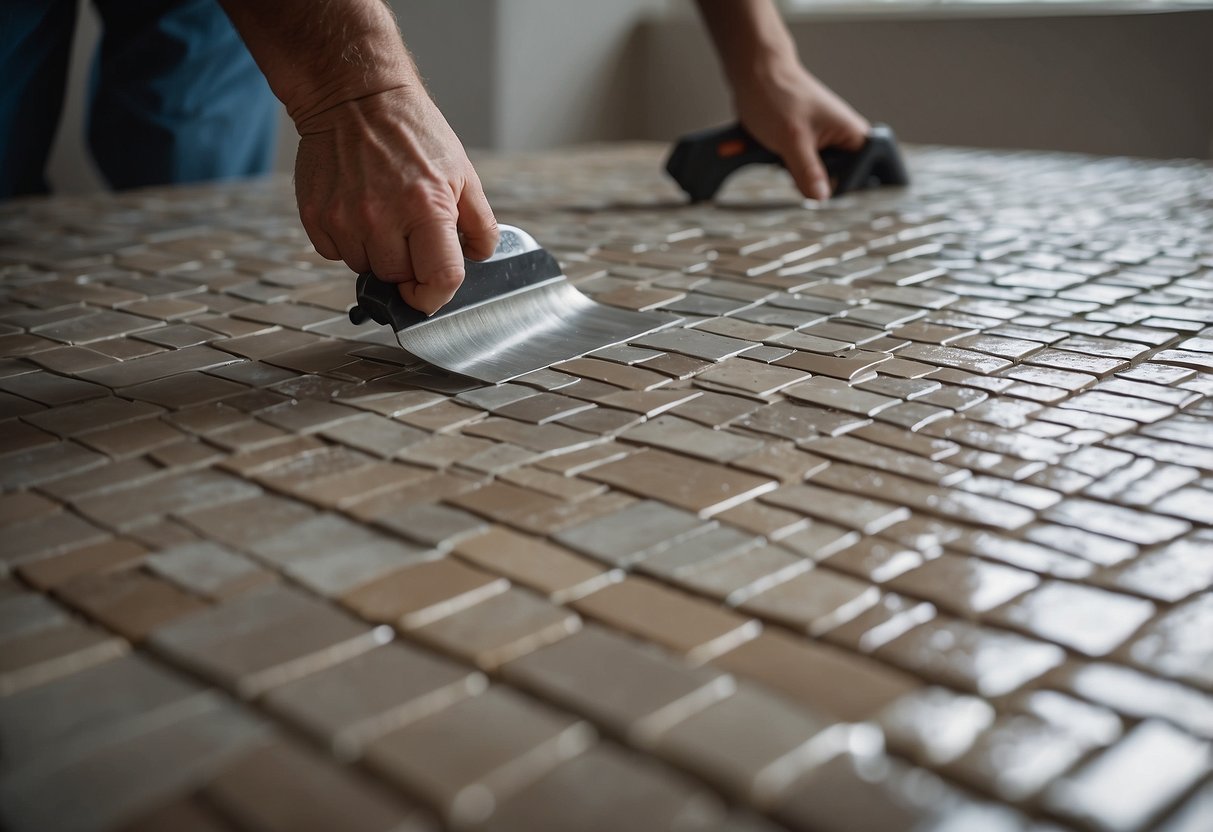
Transforming your kitchen doesn’t have to be a costly endeavor. A DIY backsplash installation can refresh your space without breaking the bank. With the right materials and a clear approach, anyone can take on this rewarding project.
The first step is choosing the backsplash style that complements your kitchen. From classic subway tiles to more modern glass varieties, different materials can significantly impact the overall look. Remember to measure your workspace accurately to ensure you purchase the correct amount of materials.
Preparation is key before starting the installation. Cleaning the wall surface and assembling your tools in advance will make the process smoother. By following a step-by-step guide, you’ll find that installing a backsplash is both manageable and fulfilling.
Planning Your Backsplash Project
Proper planning is crucial for a successful backsplash installation. Attention should be given to measuring the space accurately and selecting the right tiles to fit personal preferences and budget constraints.
Measuring the Space
Accurate measurement of the backsplash area is essential. Begin by measuring the width and height of the area where the backsplash will be installed. Use a tape measure for precision. Multiply the width by the height to calculate the square footage. Measuring correctly avoids purchasing too much or too little tile, keeping costs within budget.
Kitchen backsplashes often have irregular shapes due to outlets or cabinets. It’s important to measure these obstacles separately and deduct their area from the total. Document your measurements meticulously, noting any special considerations like corners or edges. This helps when you visit stores like Home Depot to buy the right amount of tile and supplies.
Choosing Your Backsplash Tile
Selecting the right tile involves considering design, material, and budget. Ceramic, porcelain, glass, and stone tiles are popular choices. Each has its own aesthetic and functional benefits. For instance, ceramic tiles are budget-friendly and come in various designs, while glass tiles add a modern touch but can be pricier.
Consider the overall design of your kitchen. Choose tiles that complement the countertops, cabinets, and appliances. Think about the ease of cleaning and maintenance, which is a significant factor for a kitchen backsplash. Tiles with a smooth surface are easier to clean compared to textured ones. Be mindful of your budget and look for sales or discounts at stores like Home Depot to make the best decision.
Gathering Materials and Tools
Preparing to install a backsplash involves acquiring specific materials and tools necessary for the job. It’s crucial to have the right adhesive and grout, as well as essential tools like a trowel, tile cutter, and spacers.
Essential Tools for the Job
To install a backsplash, several tools are required. A trowel is used to spread the thin-set mortar onto the wall evenly. The tile cutter is indispensable for cutting tiles to fit corners and edges precisely.
Small tile spacers help maintain consistent gaps between tiles, ensuring an even and professional appearance. Grout floats are necessary for applying grout to the joints between tiles. A sponge and bucket of water are also essential for cleaning excess grout.
Using a grout sealer will protect the grout from moisture and staining. It’s applied after the grout has cured. Having a level and measuring tape ensures the installation is straight and fits perfectly.