Selecting the Right Adhesive and Grout
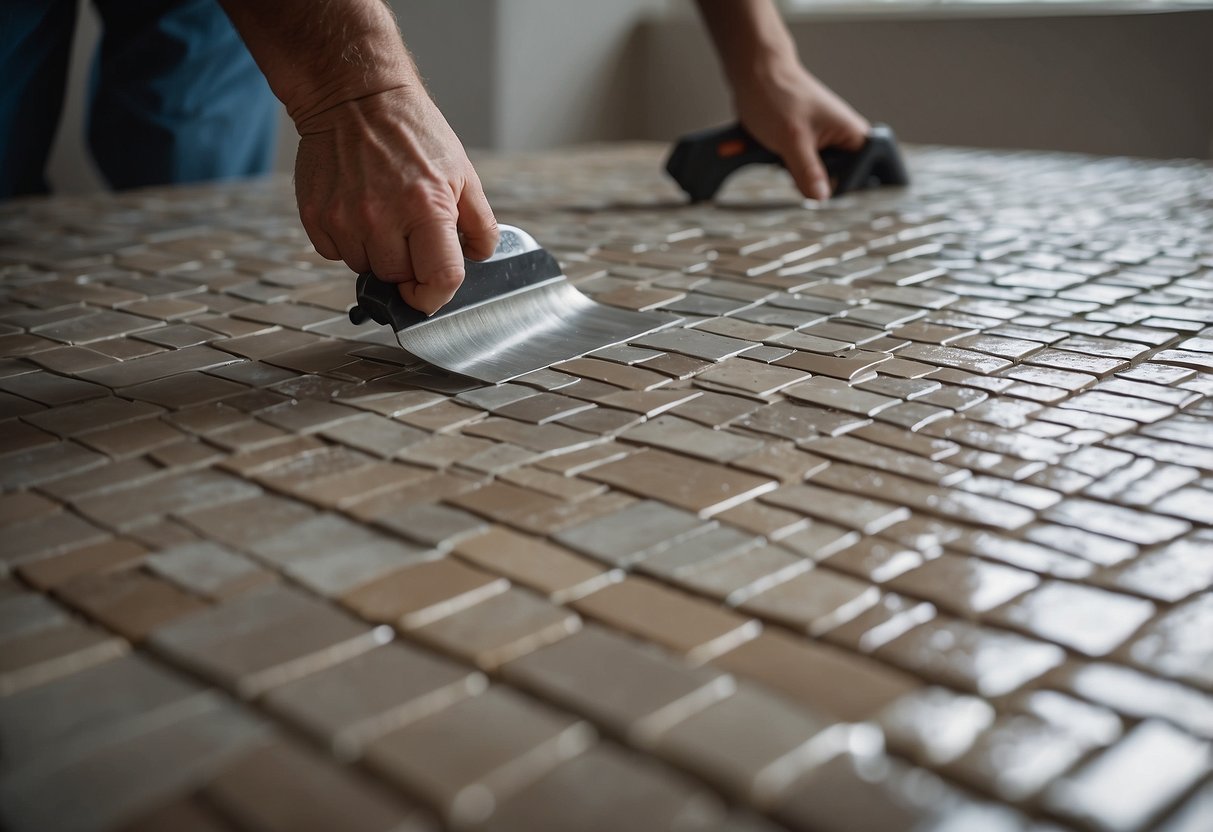
Thin-set mortar is the adhesive commonly used to attach tiles to the wall for a backsplash installation. It is essential to select the right type, considering the material of the tiles and the surface being tiled. This ensures strong adhesion and longevity.
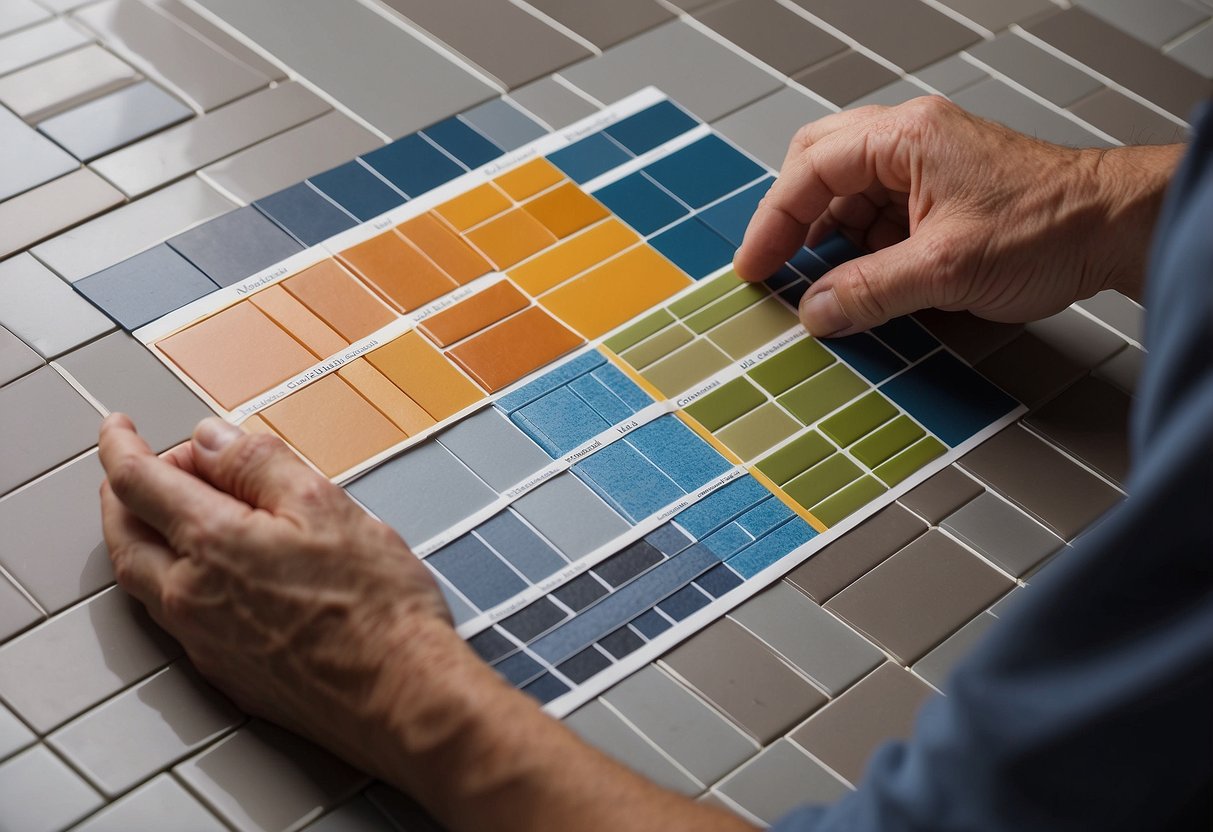
Grout comes in various types, such as sanded and unsanded. Choosing the appropriate type depends on the size of the gaps between tiles. Sanded grout is suitable for larger gaps, while unsanded grout works best with smaller joints.
A grout sealer is crucial for extending the life of the grout by protecting it from moisture and stains. Applying the sealer properly is critical to ensuring effective protection and maintaining the appearance of the backsplash over time.
Preparing the Work Area
Ensuring the work area is ready is essential for a successful backsplash installation. Attention must be paid to both the protection of existing fixtures and the proper preparation of wall surfaces.
Protecting Countertops and Appliances
Before starting, protect countertops and appliances to avoid any damage from tools, adhesive, or debris. Cover countertops with a drop cloth or plastic sheeting, securing it in place with painter’s tape. This helps prevent scratches and stains. Move any portable appliances out of the way to create a clear workspace. For built-in appliances, drape them with protective coverings. This not only prevents damage but keeps the area clean and safe throughout the installation process.
Preparing the Wall Surface
Properly preparing the wall surface is crucial for a smooth backsplash application. Start by cleaning the wall to remove any grease, dirt, or old adhesive. Use a mild detergent solution and a sponge, then allow the wall to dry completely. Inspect the drywall or backer board for any imperfections such as holes or bumps. Patch any holes with spackle and sand down any rough spots until the surface is smooth and even. If the wall is painted with a glossy finish, lightly sand it to create a better bond for the adhesive. Ensuring a clean and smooth wall surface will promote better adhesion and a more professional finish for the backsplash.
Installing the Layout Guide

Ensuring the backsplash is installed correctly requires precise lines and an even starting point. This section will cover how to set your first row and mark lines to maintain alignment.
Setting the First Row
Begin by identifying the lowest point of the countertop. Use a level to draw a straight horizontal line across the wall. This line will act as a reference for placing your first row of tiles.
Using a straightedge, make sure this line is perfectly straight. Any variation may cause misalignment in subsequent rows. It is often beneficial to install a ledger board temporarily, which provides additional support for the first row.
Double-check the alignment with your level. Adjust as necessary to ensure the line is perfectly horizontal. Confirm that the tiles will sit flush against the board.