Marking Your Lines
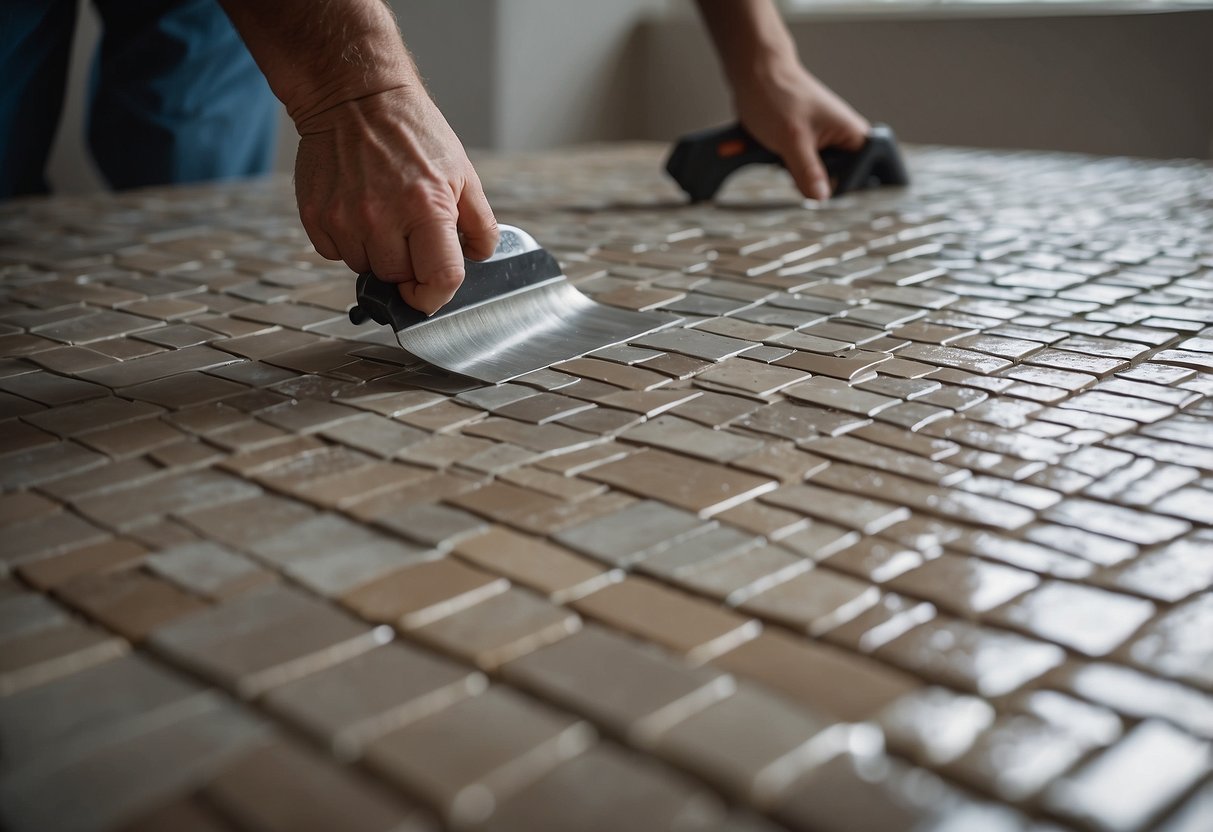
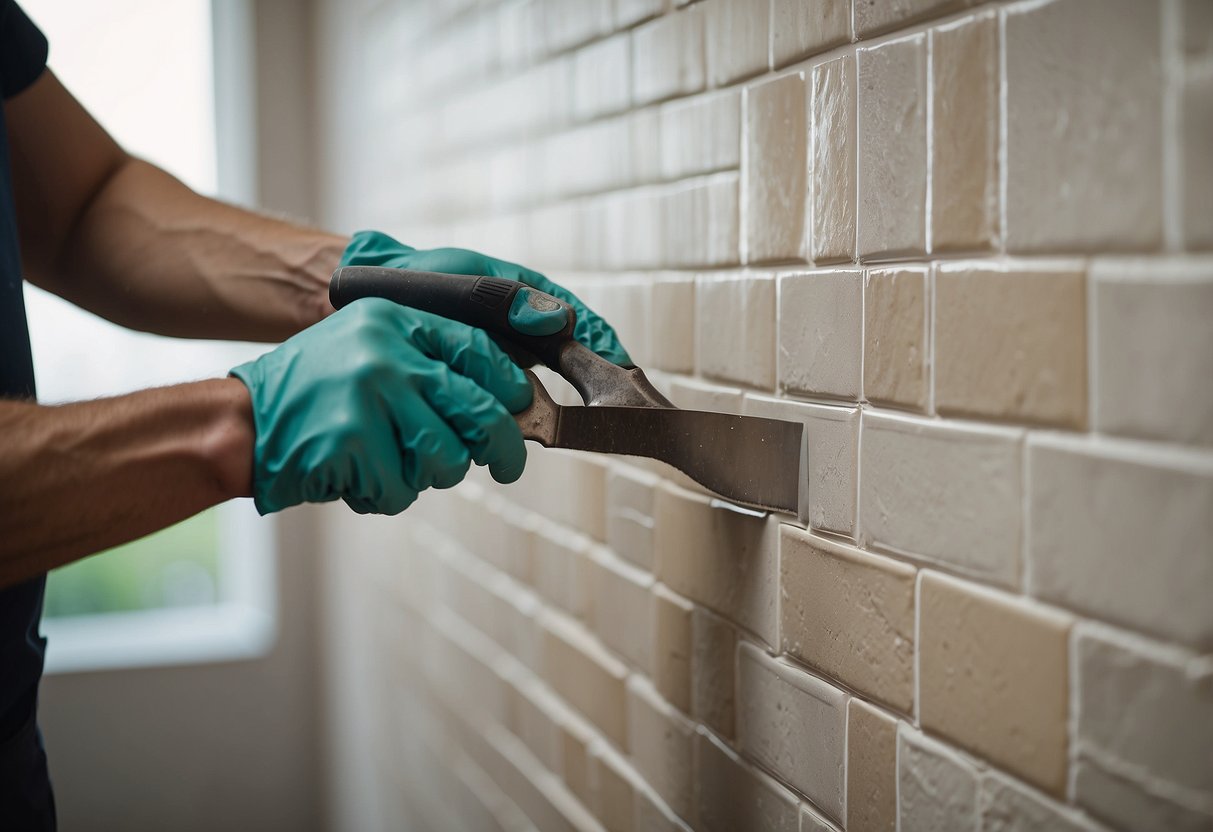
After establishing the first row, vertical lines need to be marked to guide the placement of tiles. Begin by measuring the width of the tiles and marking vertical lines along the wall at these intervals.
A level ensures these lines are straight and perfectly vertical. Accurate measurements help maintain uniform spacing between tiles throughout the installation.
Continue marking lines until the entire area for the backsplash is covered. This makes it easier to align each tile correctly. Taking extra time now will save effort later.
Recheck all lines for accuracy before proceeding to the next step of tile installation. Ensuring the layout guide is precise sets the foundation for a seamless backsplash.
Applying the Tiles

Accurate application ensures a professional look and longevity for your tile backsplash. Learn how to properly mix and apply thin-set before laying the tiles carefully.
Mixing and Applying Thin-Set
Begin by mixing the thin-set according to the manufacturer’s instructions. It’s crucial to get the right consistency; it should be similar to peanut butter. Use a clean bucket and an electric drill with a mixing paddle to blend the mixture. Let it slake for 10 minutes before remixing.
Once ready, use a notched trowel to apply the thin-set to the wall. Hold the trowel at a 45-degree angle to create ridges. Apply a thin layer first, covering only a small section to prevent it from drying out too soon. Work in manageable sections, typically 2-3 square feet at a time.
Make sure the thin-set layer is evenly distributed. This step ensures that when you press the tile into place, it adheres properly and stays secure. Clean off any excess thin-set immediately with a damp sponge to prevent it from hardening on the tile surface.
Laying Tiles in Sections
Plan the layout before starting. This ensures that the tiles align correctly and that any cuts can be made in less visible areas. Starting from the center of your backsplash area often helps achieve a balanced look.
Press each tile firmly into the thin-set, using a slight twisting motion to ensure good contact. Use spacers between tiles to maintain consistent gaps for grout. Check periodically to ensure the tiles are level and aligned. Adjust as needed while the thin-set is still pliable.
If cutting tiles is necessary, employ a wet saw or a tile cutter for clean, precise cuts. Work methodically, keeping your workspace clean. After setting a section, allow the thin-set to dry for 24 hours before applying grout. This ensures a durable and professional-looking installation.