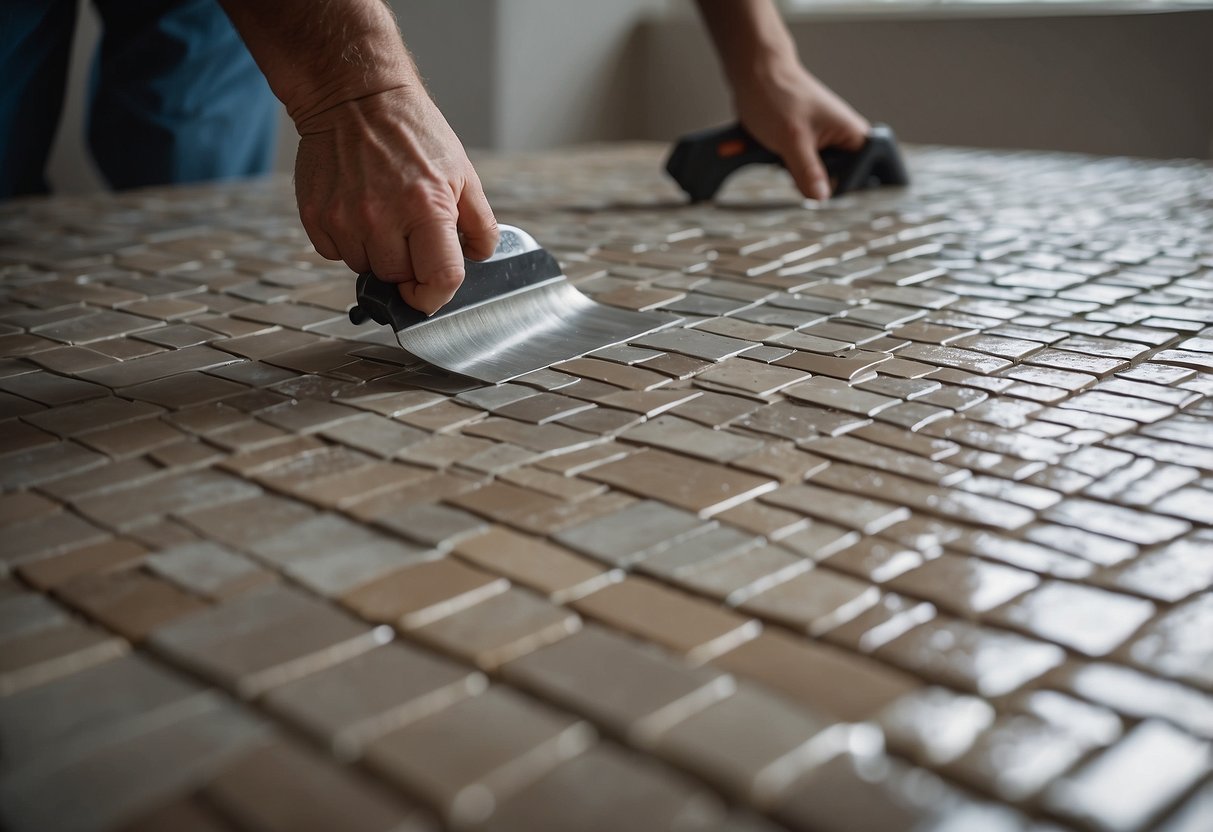
Cutting and Fitting Tiles
Accurate cutting and fitting of tiles around various elements, such as outlets and corners, are essential for a polished look. Proper tools and techniques are necessary to achieve clean cuts and fit tiles precisely.
Using a Tile Cutter or Wet Saw
A tile cutter is ideal for straight cuts. Users should score the tile with the cutter’s blade and then apply pressure to snap it cleanly. For thicker or tougher materials like porcelain or glass tiles, a wet saw is recommended. The wet saw uses a diamond blade cooled by water, which reduces dust and prevents overheating. It’s critical to measure and mark tiles accurately before cutting. Safety gear, such as goggles and gloves, is advised to protect against sharp edges and flying debris.
Handling Complex Cuts Around Outlets and Corners
When dealing with outlets and corners, precise measurements are key. For outlets, mark where the tile needs to be cut, accounting for the size and position of the outlet. It often helps to use a template. Corner cuts might require small, intricate adjustments. Nippers or a specialized tile saw can aid in achieving these complex cuts. Ensuring tiles fit snugly and securely around these elements will result in a clean, professional appearance.
Setting Tiles and Spacers
Setting tiles and spacers correctly ensures a clean, professional finish. Proper placement and evenness are key to achieving a smooth and appealing backsplash.
Placing Tile Spacers
Tile spacers are essential tools to achieve evenly spaced tiles. Start by placing a spacer in each corner of a tile. This keeps the gap consistent. There are different sizes of spacers, so choose one that fits the design. For a typical backsplash, 1/8-inch spacers work well.
Press the tile firmly against the wall. Insert spacers between the edges of the tile. Repeat this process with each tile. Ensure spacers are all the way in and aligned properly. This alignment helps maintain the straight lines and uniform gaps essential for a polished look.
Remember to remove the spacers once the adhesive has set enough to hold the tiles in place. This usually takes around 24 hours. Carefully pull out each spacer to avoid disturbing the tiles.
Checking Tile Evenness
A flat, even surface is crucial for a professional-looking backsplash. Use a level to check the evenness of each tile as you place it. Press each tile gently and adjust it while the adhesive is still fresh. If a tile is not level, reposition it or use a spacer to make adjustments.
Check the level both horizontally and vertically. Look for any tiles that stand out and adjust them immediately. Using a level continuously ensures that the tiles align perfectly.
Finally, double-check the evenness once all tiles are set. Make any last-minute adjustments before the adhesive fully sets. This step guarantees a smooth, even backsplash.
Grouting the Backsplash
This section covers the essential steps of mixing and applying grout, followed by cleaning excess grout and shaping grout lines.
Mixing and Applying the Grout
Begin by mixing the grout according to the manufacturer’s instructions. Use a clean bucket and gradually add water to the grout powder while stirring. The aim is to achieve a smooth, peanut butter-like consistency. Let the mix rest for about 10 minutes before using it.
Using a grout float, scoop the grout and spread it across the tiles at a 45-degree angle. Ensure that the grout is pushed firmly into the spaces between the tiles. Work in small sections to prevent the grout from drying out before you can clean it.
After filling the gaps, hold the grout float at a shallow angle and scrape off excess grout from the tile surface. Keep changing angles to ensure that the grout gets into every crevice.
Cleaning Excess and Shaping Grout Lines
Wait about 15-30 minutes for the grout to set slightly. Then, take a damp sponge and gently wipe the surface of the tiles to remove excess grout. Rinse the sponge frequently to keep it clean. Avoid using too much water as it can weaken the grout.
To shape the grout lines, use a clean, damp sponge or a specialized shaping tool. Pass it over the grout lines with light pressure to smooth them out. Make sure the lines are even and consistent.
After initial cleaning, allow the grout to dry for a few hours. Then, use a dry cloth to buff the tiles and remove any remaining grout haze. This final cleaning step ensures that the tiles are bright and the grout lines are well-defined.