
3. Replace Cabinet Hardware
Replacing cabinet hardware is an easy way to refresh the look of a kitchen or bathroom. This project requires minimal tools and effort, making it perfect for beginners.
Start by removing the old knobs and pulls. Most can be unscrewed with a basic screwdriver. Measure the distance between the screw holes to ensure the new hardware matches. If the holes don’t align, you might need to fill the old ones and drill new ones.
Choose new hardware that complements your room’s style. There are various finishes and designs available, from modern to vintage. Once you have your new knobs and pulls, install them by screwing them into place using the existing or newly drilled holes.
This simple change can significantly enhance the appearance of your cabinets. It’s a cost-effective way to modernize your space without much hassle.
Double-check the alignment of each piece to ensure a professional-looking result. Properly tightened screws will keep the hardware securely in place for years to come. Changing out cabinet hardware can provide a quick and straightforward update without needing major renovations.
4. Build a Bookshelf
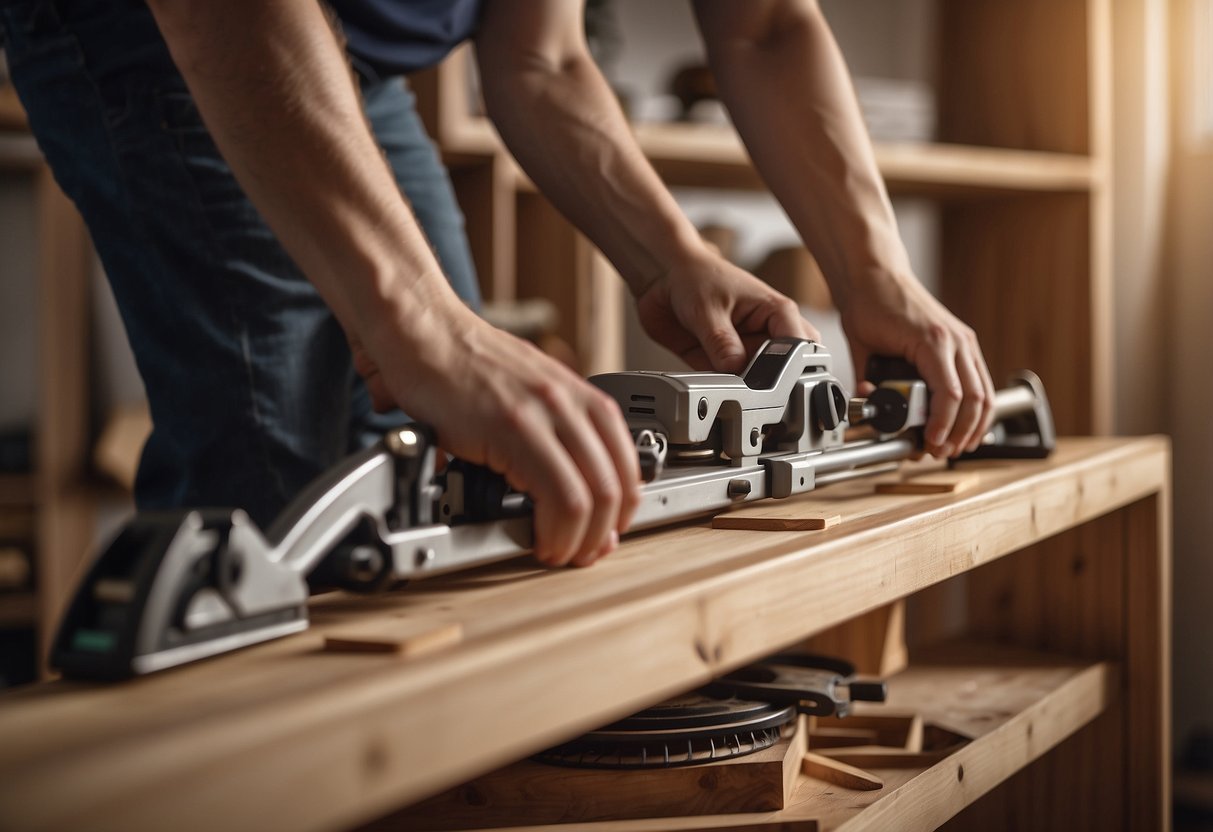
Building a bookshelf is a practical and rewarding project for beginners. It provides a sense of accomplishment and adds functionality to any space. Start by selecting the right materials such as solid wood or plywood. Measure the space where the bookshelf will go to ensure it fits perfectly.
Basic tools needed include a saw, drill, screws, and a level. Cut the wood to the measured dimensions, making sure to sand any rough edges. Assemble the frame first, then add the shelves, ensuring everything is level.
Different designs can be chosen based on skill level. A simple rectangular design is ideal for beginners. Attach the back panel for added stability. Staining or painting the finished bookshelf can give it a professional look and match it with other furniture.
Take safety precautions by wearing gloves and goggles. Work in a well-ventilated area, especially when staining or painting. Follow all instructions carefully, and don’t rush the process to avoid mistakes.
Bookshelves can be customized with decorative trim or additional features like adjustable shelves. This provides flexibility for storing items of various sizes. A well-built bookshelf can last for years and serve various functions in a home.
5. Install Floating Shelves
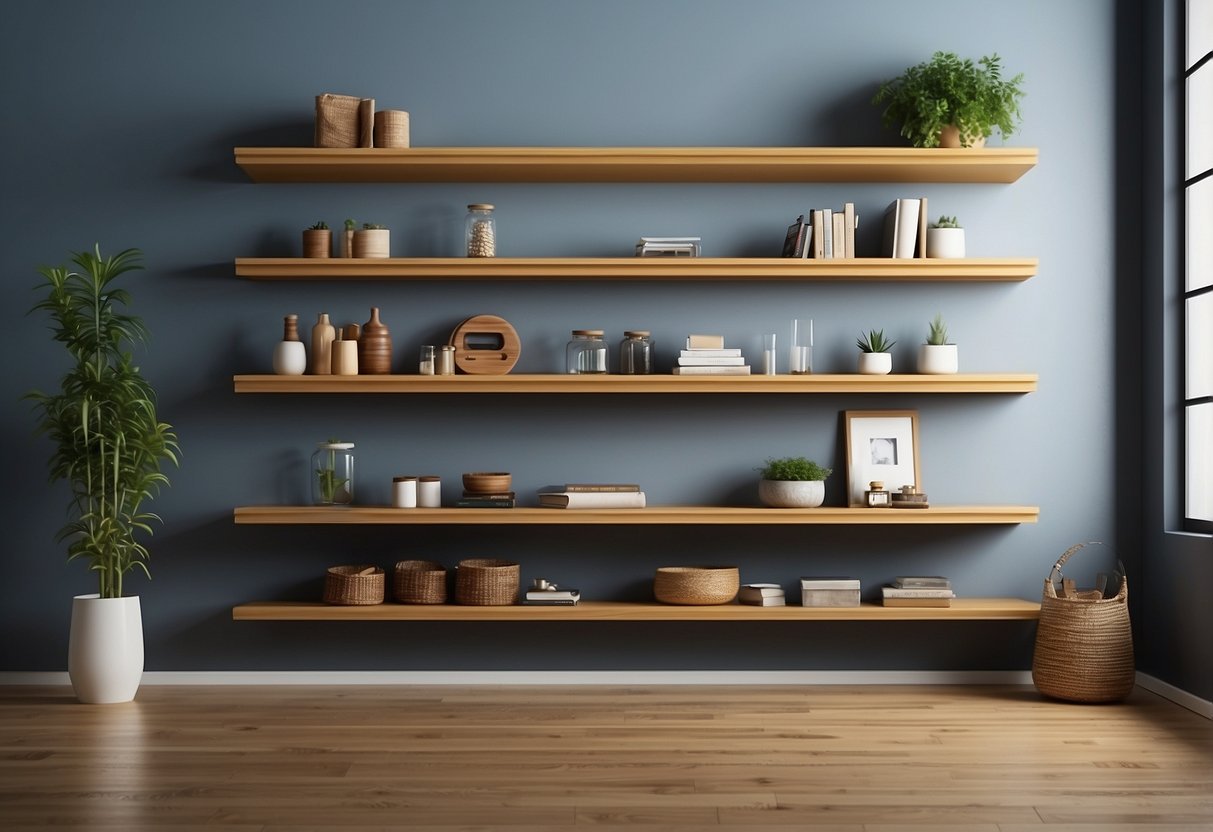
Installing floating shelves is a simple and effective way to add storage and style to any room.
To begin, measure the space where the shelves will be installed. This ensures accurate placement and helps determine the length and number of shelves needed.
Next, gather your materials. You will need brackets, screws, a level, a drill, and the shelves themselves.
Find the wall studs using a stud finder. Anchoring the shelves into studs provides stability and prevents them from falling.
Mark the desired height and width on the wall, making sure the marks are level.
Drill pilot holes at the marked points and attach the brackets securely to the wall studs.
Once the brackets are in place, slide the shelves onto the brackets.
Check that the shelves are level and make any adjustments as needed.
Floating shelves are versatile and can be used in kitchens, living rooms, or bathrooms to hold books, plants, or decorative items.
They help to declutter spaces while adding a touch of modern design.
Regularly check the shelves for alignment and weight capacity, ensuring they remain functional and safe.