6. Create a Garden Bed

Creating a garden bed is a manageable project for beginners. Start by selecting a sunny spot in the yard, as most plants need plenty of light.
Outline the garden bed area. Use a hose, stakes, or string to mark the boundaries. Remove any grass or weeds from the marked area. This makes it easier for plants to grow.
Turn the soil using a shovel or tiller. Breaking up the soil ensures better root growth and water penetration. Mix in compost or organic matter to enrich the soil.
Next, plant your chosen flowers, vegetables, or herbs. Follow the spacing instructions on the plant labels. Water the plants thoroughly after planting to help them settle into their new home.
Adding mulch is important. Mulch helps retain moisture and reduces weed growth. Spread a layer of mulch around the plants, leaving space around the base.
Maintaining the garden bed involves regular watering and checking for weeds. Removing weeds promptly helps keep the plants healthy. Beginners will find that this routine care is simple and rewarding.
Consider adding a border to give the garden bed a finished look. Edging materials like bricks, stones, or plastic can help define the area.
Creating a garden bed not only enhances the yard’s appearance but can also provide fresh produce or flowers. It’s an excellent project to start with for anyone new to home improvement.
7. Stain a Deck

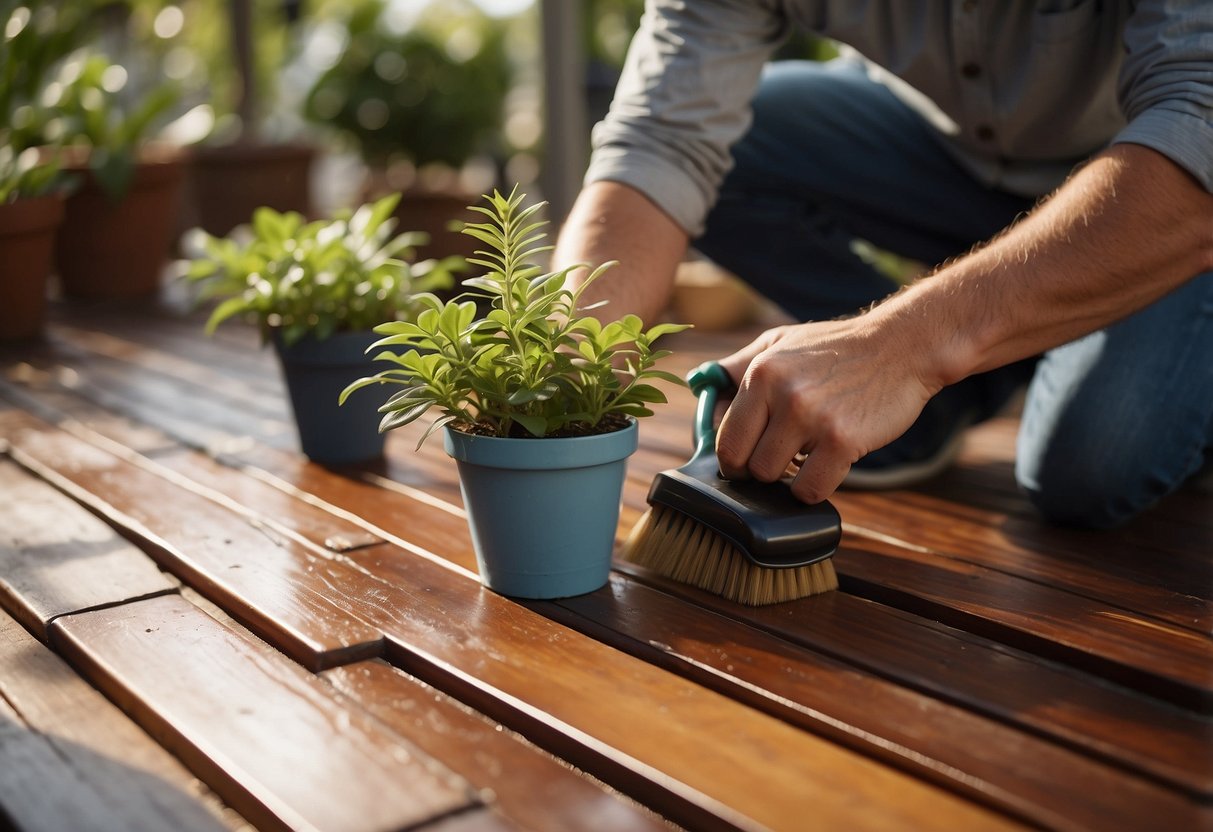
Staining a deck is a simple yet effective way to enhance its appearance and prolong its life. The project starts with choosing the right stain. Options include transparent, semi-transparent, and solid stains. Each type offers different levels of opacity and protection.
Begin by cleaning the deck thoroughly. Remove any debris, dirt, or previous stain using a deck cleaner. Allow the deck to dry completely before applying the new stain.
When ready, use a brush or roller to apply the stain evenly. Work in small sections to ensure even coverage and avoid lap marks. Apply a second coat if necessary, depending on the wood’s condition and the stain’s instructions.
After staining, let the deck dry for the recommended time. This helps the stain to set properly and ensures a durable finish. Staining should be done on a clear day with no rain forecasted to ensure optimal results.